🗣️Hosting a Static Website using S3 👇🏼
How to make your website more available ? (CDN)

Concepts To be Know:
What is Amazon S3?
Amazon S3 (Simple Storage Service) is a cloud-based storage service provided by Amazon Web Services (AWS), offering scalable, secure, and highly available storage for various data types and applications.
What is Amazon CloudFront?
Amazon CloudFront is a content delivery network (CDN) service provided by Amazon Web Services (AWS). It accelerates the delivery of web content by caching data at edge locations closer to users, reducing latency and improving performance.
What is the benefits or advantages of using AWS S3?
AWS S3 offers scalable, durable, and secure cloud storage with pay-as-you-go pricing. It integrates with other AWS services, ensuring high performance, reliability, and cost-effectiveness for storing and accessing data.
Steps to Reproduce:
1.Create a S3 Bucket -
To do this, login into your AWS management console ,select S3. This should display the S3 dashboard. From the S3 dashboard, click on Create bucket. Give the bucket a unique name, the name you choose must be globally unique.
Under Block Public Access settings for this bucket section, uncheck the Block all public access checkbox and accept the acknowledgement. This is done to make the bucket accessible to the public because you are going to host a website in it.

As per requirement Enable or DisableBucket Versioning and Rest leave as default.
Then click on Create bucket.
2.Upload Files to S3 Bucket -
After creating the bucket, you need to upload your files and folders into it.
On the Objects tab, you can see that the bucket is currently empty,
click on the Upload button.
Click Add files to add the website files and use Add folder to add the website folders.
Note: The whole website folder shouldn’t be added at once. Instead, add the content one after the other. For example, with the demo project linked up top, I uploaded my index.html as a file, index.js as a file, css as a folder and img as a folder.
After the necessary files and folders have been added, scroll down and click on Upload.

3.Secure S3 Bucket through IAM Policies -
From the S3 dashboard, click on the name of the bucket, then click on Permissions tab. Scroll down to the Bucket policy section and click on its Edit button.
Add the following bucket policy to it and make sure to replace
bucket-namewith the name of your bucket.{ "Version":"2012-10-17", "Statement":[ { "Sid":"AddPerm", "Effect":"Allow", "Principal": "*", "Action":["s3:GetObject"], "Resource":["arn:aws:s3:::bucket-name/*"] } ] }Then scroll down and click on Save changes.
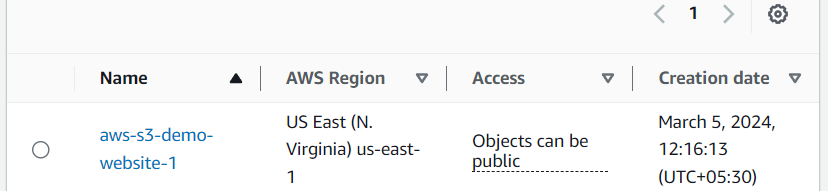
This should change the bucket access to public, as shown below.
4.Configure S3 Bucket -
From the S3 dashboard, click on the name of the bucket, then go to Properties tab.
Scroll down to the Static website hosting section and click on its Edit button.
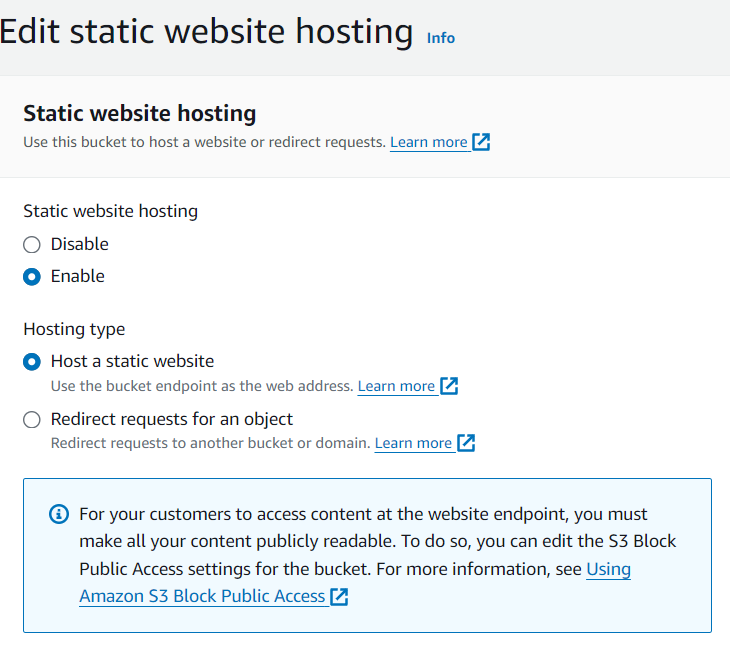
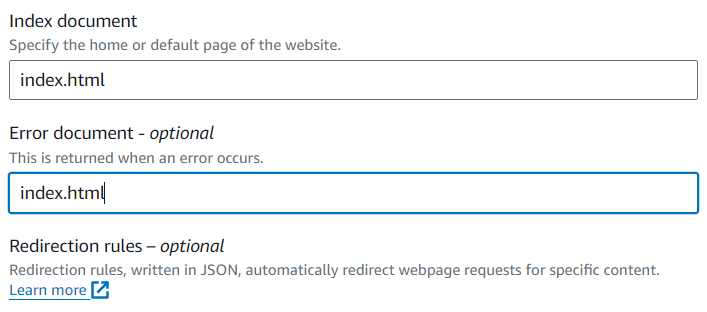
Enter the file for your Index document and Error document. The Error document is optional. I used index.html for both Index document and Error document.
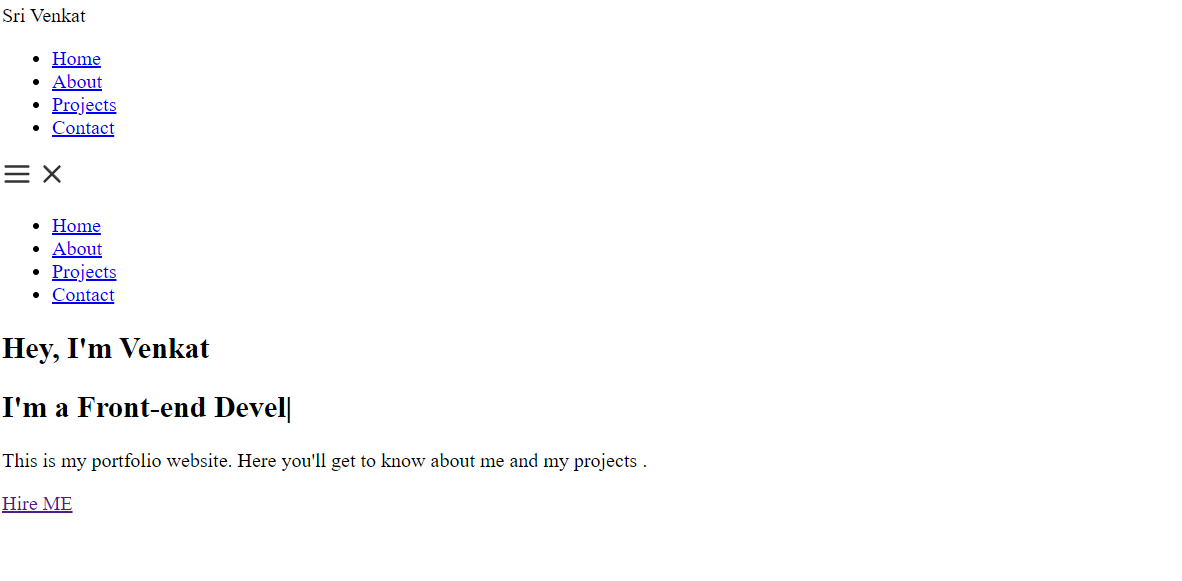
- After saving, If you click on the bucket website endpoint, it would display your website.

5.Serve Content From S3 Bucket with Cloud Front -
Go to the Services tab and select Cloud Front.
Click on Create Distribution.
Under the Origin Settings section, click on the Origin Domain Name field and select the S3 bucket you created earlier. In the Origin Path field, enter / to indicate root level.
Rest leave all the fields as default.
Now, you can see the distribution you created from the CloudFront dashboard. It might take a few minutes to deploy.

After the CloudFront distribution has been deployed,copy the URL from the Domain Name column and paste it into your browser. Yay!🎉
Note: Pls delete all the resources after your demo.
Thank you.


